terça-feira, 29 de maio de 2012

Caderno com Restinhos ::: Notebook with paperscraps

Já alguma vez realizou um trabalho em papel e ficou com muitas sobras? Tirinhas ou quadrados maiores ou mais pequenos que parecem nascer de todos os lados? Pois bem, se a resposta foi sim então este é o projecto ideal para si!

Have you ever made a project using paper and ended up with millions of small pieces? Squares and stripes of small paper that seem to be everywhere? If you answered yes, then this is the ideal project for you!
Material necessário: 2 capas de cartão com 6"x9" (aproximadamente 15x23 cm), restos de papel (neste caso colecção Little Darlings da Graphic45), cola PVA stix2, Cinch, arames de encadernar, fitas diversas, almofadas 3D

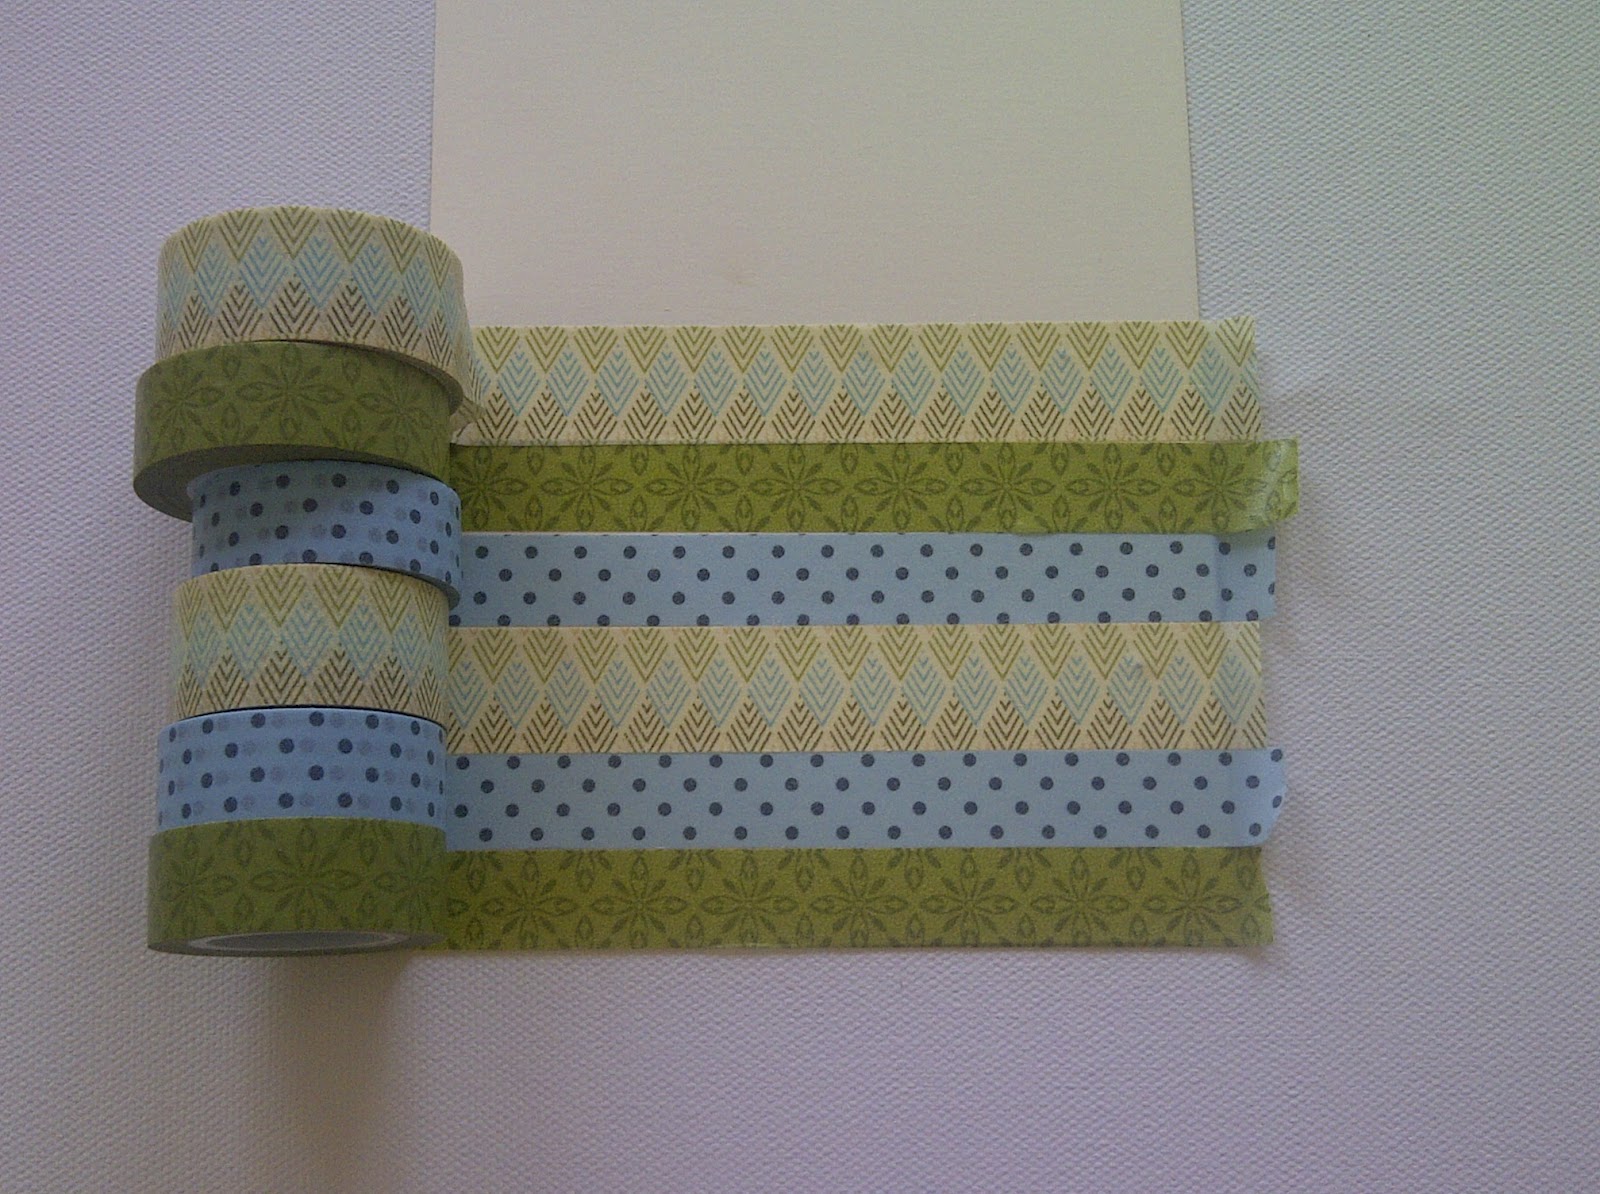
Material: 2 chipboard covers with 6"x9", scraps of paper (in this case Little Darlings by Graphic45), stix2 PVA glue, Cinch machine, wires, ribbons, pop-out dots
Comece a dispor e colar os restinhos de papel que tem, sem pensar muito, uns em cima dos outros, cruzando-os e deixando que passem do limite do cartão.

Begin by displaying and glueing the scraps of paper, without overthinking, laying them crossing and overlaping each other, leaving them bigger then the limits of the card.


Quando a capa estiver completamente coberta de papel, corte o excesso com uma régua e um x-acto. Repita todo este processo para a contra-capa e para a outra capa de cartão.

When the cover is completely covered with paper, cut the excess with a craft knife and a ruler. Do this all over again with the back cover and the inside of both of them.


Escureça as extremidades do cartão com a almofada distress Tea dye da ranger, assim como as sobreposições de papel.

Ink the edges around the covers and on the top layers of the papers with distress ink pad Tea dye by ranger.
Fure as capas como gostar mais, sendo que neste caso fizemos 4 furos a 2 cm de cada extremidade da capa de cartão.

Punch the covers as you like best. we have done 4 punchs 2 cm from top and bottom of the chipboard cover.
Corte umas cartolinas brancas para servirem de separador e coloque na extremidade uma tira de papel. Corte também papel branco (ou de cor) para servir de miolo do caderno e fure na cinch.

Cut some white cardstock to use as dividers and glue some strips of paper on the edge. Also cut some white paper (or colored) to use as sheets for the notebook and punch everything with the cinch.


Adicione fitas e elementos de chipboard que tenham sobrado de projectos anteriores para completar a decoração final.

Add ribbons and chipboard elements that might be leftovers from other projects as well to complete the decoration.


 Um outro caderno   Another notebook


Estes caderninhos são ideias para oferecer a uma recém mamã ou até num baby shower!

These notebboks are ideal to offer to a new mum or at a baby shower! 

Agora já sabe, procure os restinhos todos que tem aí por casa e mãos ao trabalho! Envie-nos uma fotografia do seu projecto feito (até dia 1 de Junho) para o nosso e-mail (encomendas.tubodeensaio@gmail.com) e prometemos publicá-lo neste espaço. E as primeiras 5 fotografias receberão um miminho da Graphic45!

Now go and search for all the scraps that are on your desk and get to work! Send us a photo of your project (until 1 of June) to our e-mail (encomendas.tubodeensaio@gmail.com) and we promise to publish them in this space. oh and the first 5 photos will receive a small treat from Graphic45!

quarta-feira, 16 de maio de 2012

Washi tape

A washi tape, também conhecida como fita japonesa de papel, é uma das grandes novidades lançadas em quase todas as marcas de papel de Scrapbooking e a My Mind's Eye, com a sua nova colecção Indie Chic, não é excepção.

Washi tape, also known as japonese paper tape, is one of the new hot trends in the scrapbook business and almost every brand of paper is carrying them now. My Mind's Eye is no exception with their new colection Indie Chic.
 

E como material novo exige ideias novas, aqui ficam duas ideias para usar esta fita! Vai precisar de: um conjunto de Washi tape da My Mind's Eye, cartolina bege ou branca, molas de madeira, etiquetas (pode cortar com a Sizzix ou usar pré-cortadas), framelits scallop circle (657552) e uma tela.

And has new material demands new ideas, here are two ways you can use this tape! You will need: one set of My Mind's Eye washi tape, cream or white cardstock, wood pegs, tags (you can cut them with your sizzix machine or use pre-cur ones), Framelits scallop circle (657552) and a 12" canvas.
 Comece por dispor a fita na cartolina com o padrão que mais gostar.

Start by displaying the tape in the cardstock following a pattern of your choice.
Escolha um tamanho de framelit que goste e corte vários círculos iguais.

Choose a framelit size you like and cut several circles. 
Utilizando a fita e da forma que mais gostar, faça um padrão na tela.

Using the tape as you prefer, make a pattern through out. 
Corte 6 etiquetas com a sizzix (656938) utilizando papel da mesma colecção Indie Chic da My Mind's Eye. 

Cut 6 tags with Sizzix (656938) using the paper from the same Indie Chic line from My Mind's Eye.
 Faça uma dobra na etiqueta de modo a criar uma bolsa e cole em ambas as laterais.

  Make a fold in the tag to create a pocket and glue it on both sides.
Cole uma molas de madeira pequenas à parte de trás dos círculos escalopados.

Glue some small wood pegs to the back side of the scalloped circles.
 Corte de seguida uma etiquetas de cartolina bege e decore-as com a washi tape.

Cut some tags from the cream cardstock and decorate them with washi tape.
 Disponha as etiquetas grandes na tela e dentro de cada uma coloque uma etiqueta pequena e uma mola com um círculo escalopado. E aqui tem um delicioso quadro para recados, para separar as contas da casa enfim o que mais gostar!

Display the big tags in the canvas, insert a small tag in each pocket and add one circle with peg. And here you have it : a delicious note frame, bill separartor or whatever you prefer!

Faça o mesmo utilizando outro conjunto de washi tape.

Do the same thing with another set of Washi tape.


Decore um copo de vidro as fitas, coloque um círculo colado numa deliciosa molinha e pode assim marcar os copos dos diferentes convidados numa festa!

Decorate a glass with washi tape, place one scalloped circle glued to a tiny wood ped and that way you can mark the glasses of the attendees to a party!

segunda-feira, 14 de maio de 2012

Workshop em Madrid ::: Workshop in Madrid

Sexta-feira dia 11 de Maio, realizamos um workshop em Madrid, mais precisamente em Majadahonda, no Papel Vivo.

Friday, the 11th of May, we had a workshop in Madrid, more precisely in Majadahonda, at Papel Vivo.
Esta linda loja é sem dúvida uma homenagem ao Papel gerida por mãe e filha, Aracelli e Eva.

This beautiful shop is, without any doubt, a true homage to paper, owned by mother and daughter, Aracelli e Eva.

 Realizamos aqui o projecto desenvolvida pela Teresa Collins para o evento de Scrapbooking, Chocolate Quente XL: um delicioso Mini álbum com a colecção Everyday Moments da mesma designer.

We made a project developed by Teresa collins for our Scrapbook event, Chocolate Quente XL: a mini album made with the colection Everyday Moments by the same designer.

Foram 15 as participantes neste workshop e aqui fica uma fotografia para a posteridade de algumas delas com o Mini Album pronto! Muy bien chicas, está una monada!

With 15 attendees at the workshop and for future reference here is a photo of some of them with the Mini album ready! 

Mini Cabinet pot


Conforme prometido, aqui fica o novo post da Paula Pascual sobre como fazer um cubo para colocar lápis ou canetas, utilizando o cortante da Sizzix Mini Cabinet Card (657206). Esperamos que gostem!

MINI CABINET PEN POT

Saturday, 12 May, 2012 

Today I am sharing how to make the little pen pot using the Mini Cabinet Card die.


As the Mini Cabinet Card is a Magnetic Movers and Shapers die you will need either the Base Tray or the Vintage Cabinet Card to die cut it. Both Base and Vintage Cabinet card dies are designed to be used in combination with the magnetic movers and shapers dies, they just add the right amount of thickness for the magnetic dies to work. Remember the magnetic dies have exactly the same power of cutting as any other Bigz dies but with the added value of being able to cut within a shape in one go.


Take a piece of double sided patterned paper that measures 6 x 12" approximately.
Then score it at 2 1/2", 5", 7 1/2" and 10".


Once folded it should look like this, all the scored line parallel to each other. I like to use My Mind's eye papers for projects like this one as they offer just the right amount of thickness for scoring, folding and gluing. 


To die cut it in perfect place (centred) secure it with low tack tape. It is important to make sure that the scored lines are in parallel to the edges of the die.


Once die cut, it should looked like this.


Trim off the rounded tab at one of the ends.


Score all the way down at the bottom of the rounded tabs.


Score all the way where the pips are, just about 1/4".


Make a V cuts where ever needed for a perfect fold.


Fold all scoring lines.

And glue together by glueing one end (the one with no rounded top) inside the other end.


Cut two pieces of 2 1/2" x 2 1/2" for the bottom of the pot.


Attach one of the bottoms to the pot from outside and let it dry.


Position the other square inside the pot. Trim off a tiny fraction if necessary.


Glue the side flaps for a more neat finish.


And here you have both boxes together.

I hope you enjoyed it!

terça-feira, 8 de maio de 2012

Workshop na Papelaria Continental

Neste fim-de-semana realizou-se o workshop Little Darlings na Papelaria Continental, em Paços de Ferreira.


Aqui ficam as deliciosas imagens das caixas prontas! Parabéns!
Related Posts Plugin for WordPress, Blogger...